Getting Started with Deep Code on macOS
This guide walks you through downloading and using Deep Code on a Mac computer with simple steps.
Deep Code System Requirements
- OS: macOS 10.13 (High Sierra) or later (Intel and Apple Silicon supported)
- Memory: At least 4GB
- Storage: At least 1GB of available space
- Network: Internet access required
Installing Deep Code
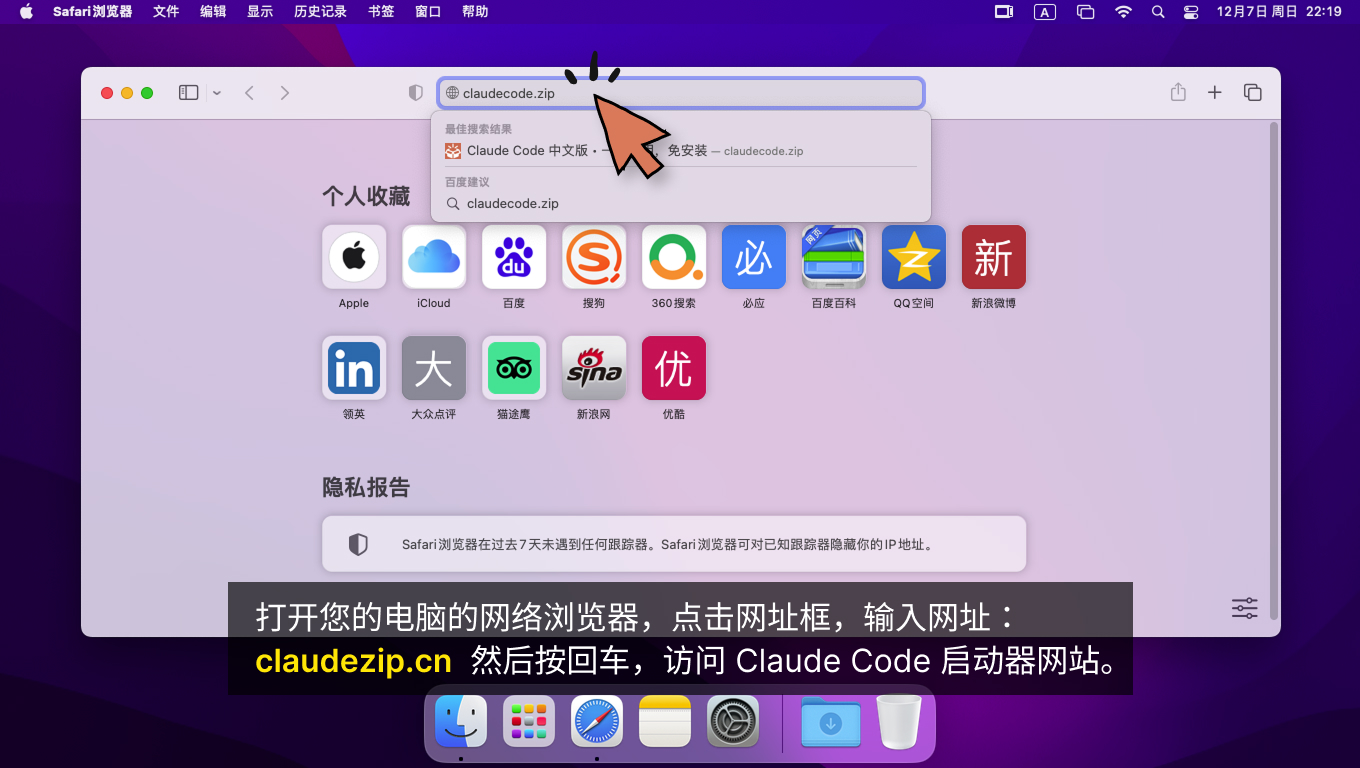
Step 1: Open your web browser, click the address bar, and type: deepcode.zip. Then press Enter to open the Deep Code website.
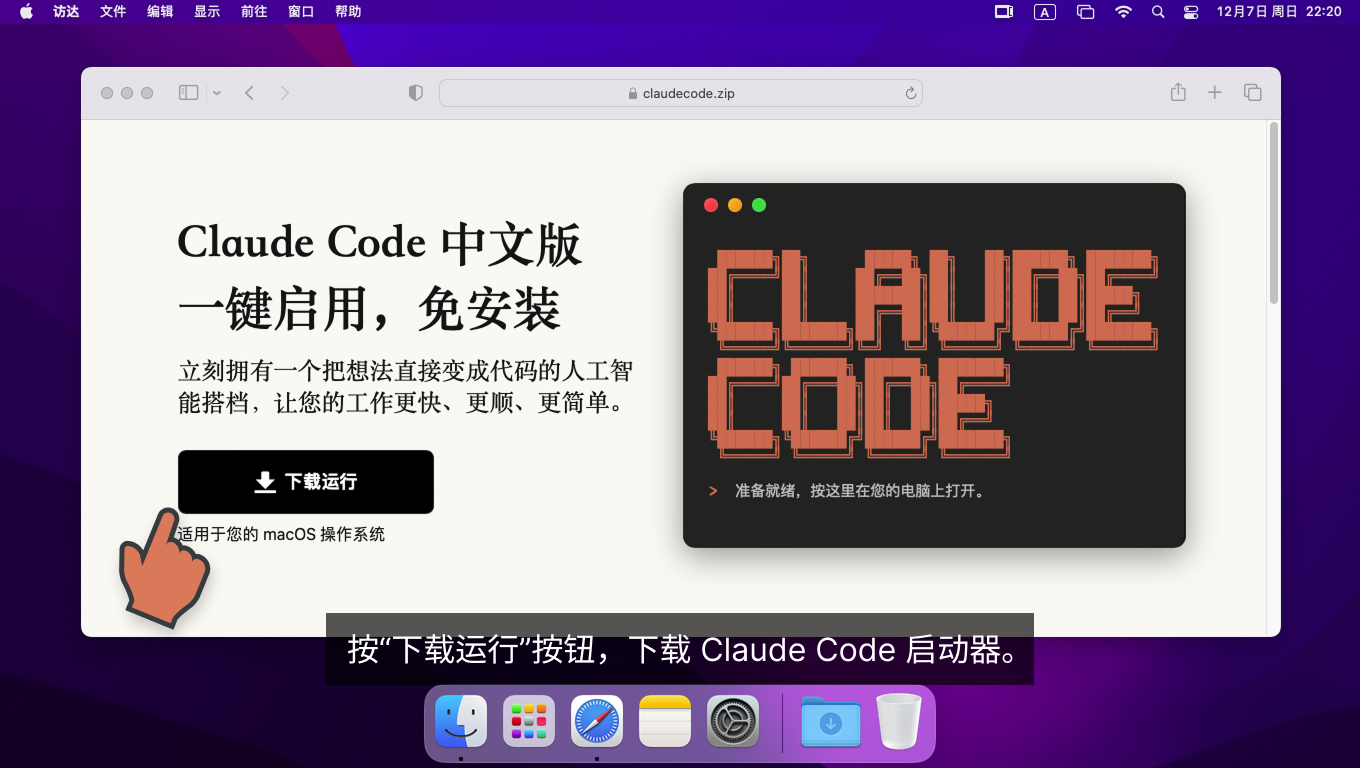
Step 2: Click the "Download & Run" button to download Deep Code.
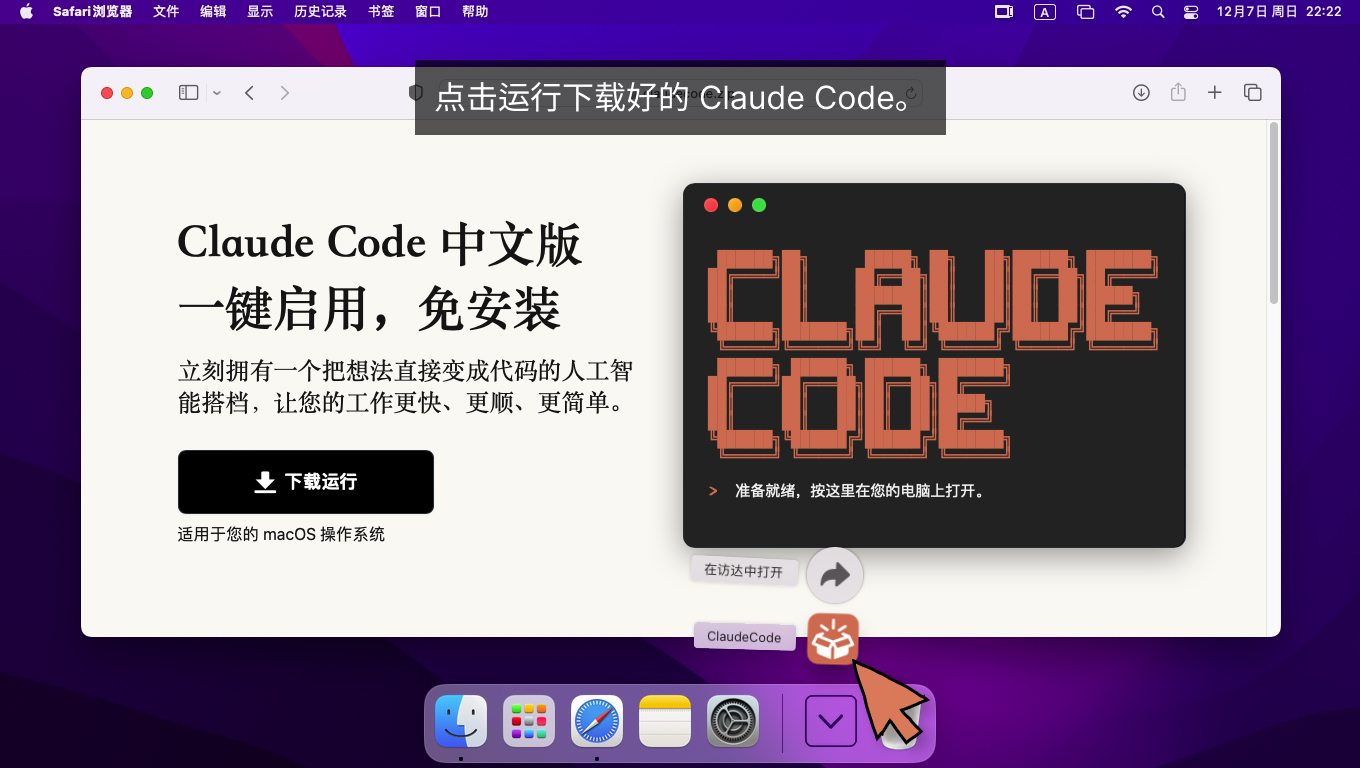
Step 3: Once the download is complete, click to run Deep Code.
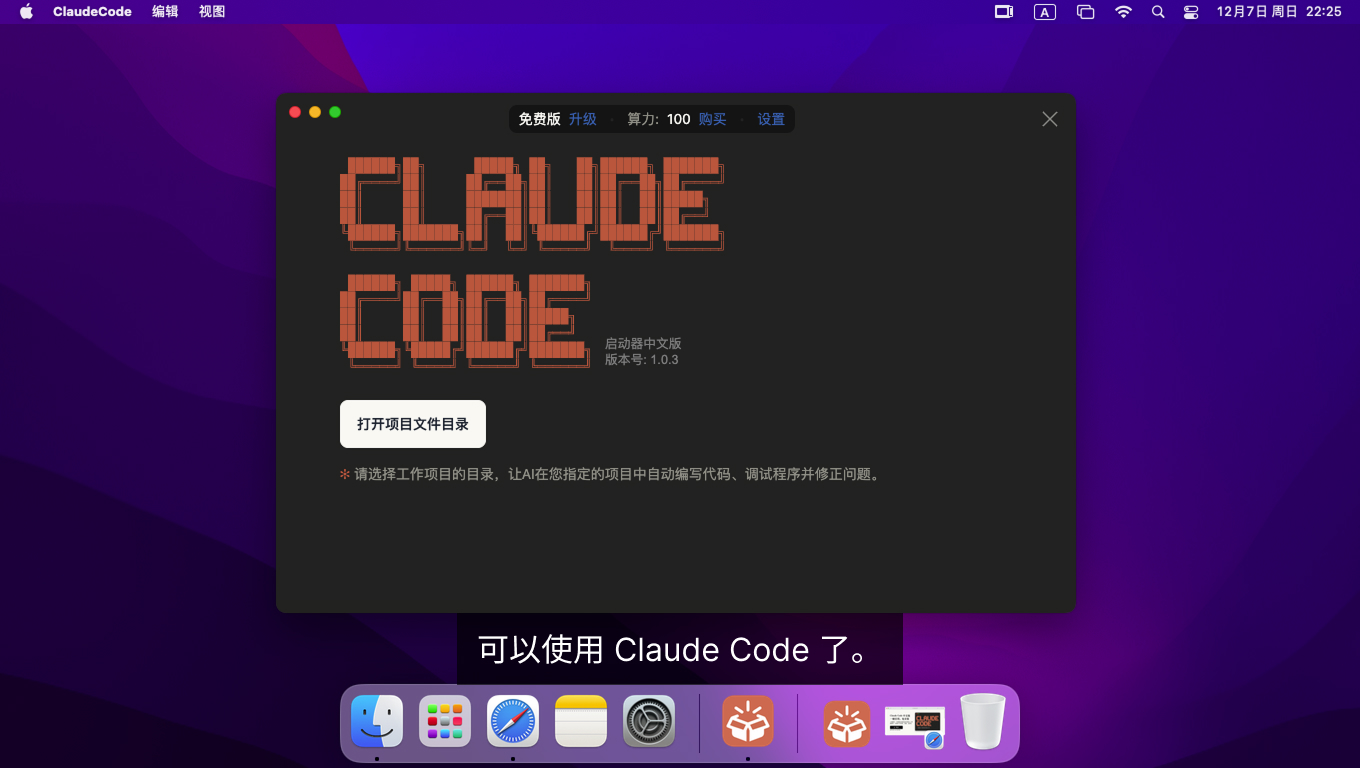
Installation Complete You can now start using Deep Code.
Next Steps
Now that Deep Code is up and running, here is how to get started:
- Select a project folder -- When you first launch Deep Code, click "Open Project Folder" and choose the directory where your code lives. The AI will work strictly within this folder, keeping everything organized.
- Tell the AI what to do -- Click the voice input button in the bottom-right corner and just speak your request out loud — no typing needed. Prefer typing? Enter a clear instruction in the input box instead. Either way, Deep Code takes it from there: analyzing, planning, and executing the task.
- Work on multiple projects -- Use
Ctrl + Nto open a new window and juggle several projects in parallel.
For a full walkthrough with screenshots, check out the Quick Start guide.